Hey there! I'm a supplier of all sorts of door opener accessories, and today I'm gonna walk you through how to install a Door Opener Control Box in a metal door frame. It might sound a bit tricky, but with the right steps and a little patience, you'll have it up and running in no time.
What You'll Need
First off, let's talk about the tools and materials you'll need for this job. You'll need a drill with the appropriate drill bits for metal, a screwdriver set (both flathead and Phillips), a measuring tape, a level, and some mounting brackets. Oh, and of course, the Door Opener Control Box itself. It's always a good idea to double - check the installation manual that comes with the control box, as it might have some specific requirements.
Step 1: Choose the Right Location
The first step is to figure out where you want to install the control box. You need to pick a spot on the metal door frame that's easily accessible but also out of the way of normal traffic. A good rule of thumb is to place it at a height where you can reach it comfortably, usually around waist - level. Use your measuring tape to mark the exact spot on the door frame. Make sure it's level using a level. This is important because if the control box isn't installed straight, it might not work properly or look good.
Step 2: Prepare the Door Frame
Once you've marked the location, it's time to prepare the metal door frame for installation. Take your drill and the appropriate drill bit for metal. You'll need to drill holes at the marked spots for the mounting brackets. Be careful when drilling into the metal. Start slowly to make sure you're drilling in the right place and at the right angle. If you're not confident with drilling into metal, you might want to get someone with more experience to help you out.
Step 3: Install the Mounting Brackets
After you've drilled the holes, it's time to install the mounting brackets. Take the brackets and align them with the holes you just drilled. Use your screwdriver to screw the brackets into place. Make sure they're tightly secured. You don't want the control box to come loose later on. Double - check that the brackets are level again.
Step 4: Attach the Control Box
Now that the mounting brackets are in place, it's time to attach the Door Opener Control Box to the brackets. Carefully lift the control box and place it on the brackets. There should be holes on the control box that align with the brackets. Use your screwdriver to screw the control box onto the brackets. Again, make sure it's tightly secured.
Step 5: Wiring
Wiring is probably the most important and also the most tricky part of the installation. You need to connect the wires from the control box to the power source and the door opener mechanism. Before you start working with the wires, make sure the power is turned off. This is for your safety. Refer to the wiring diagram in the installation manual. Usually, there are color - coded wires that need to be connected to specific terminals. Connect the wires carefully, making sure each wire is firmly attached. Once you've connected all the wires, double - check your connections to make sure there are no loose wires.

Step 6: Test the Control Box
After you've finished wiring, it's time to test the control box. Turn the power back on and see if the control box powers up. Try using the control box to open and close the door. If everything works smoothly, then you've successfully installed the control box. If there are any issues, like the door not opening or closing properly, or if the control box doesn't power up, go back and check your wiring and connections.
Additional Accessories
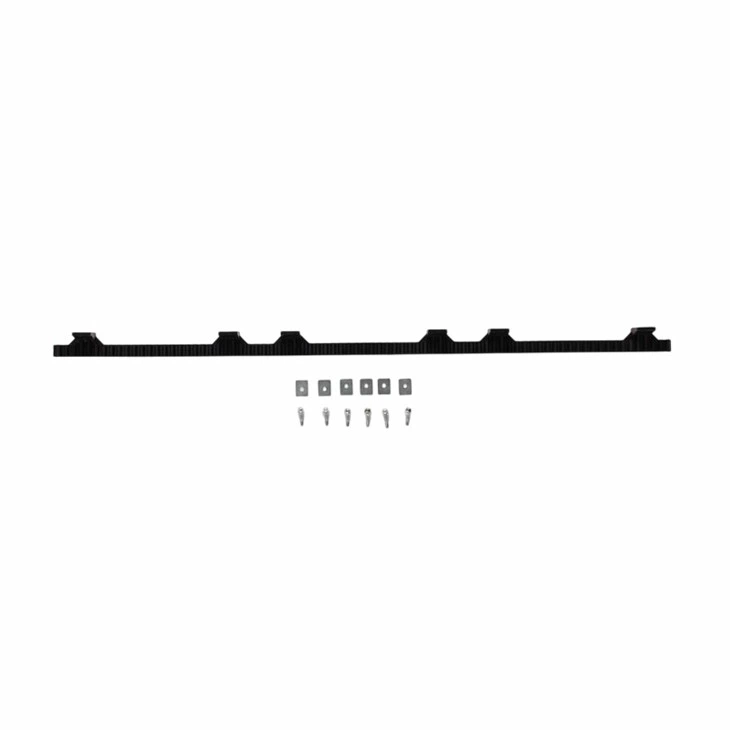
As a supplier, I also want to mention some other useful accessories that you might want to consider. For example, the Door Opener LED Lamp can provide some extra lighting around the door area. It's easy to install and can make your door area safer and more visible at night. Another great accessory is the Door Opener Nylon Gear Rack. It can help improve the performance of your door opener and make the operation smoother.
Conclusion
Installing a Door Opener Control Box in a metal door frame might seem like a daunting task, but if you follow these steps carefully, you'll be able to do it yourself. And if you ever run into any problems, don't hesitate to reach out. As a supplier, we're always here to help you with any questions you might have about our products or the installation process.
If you're interested in purchasing a Door Opener Control Box or any of our other accessories, feel free to contact us for more information and to start a purchase negotiation. We offer high - quality products at competitive prices, and we're committed to providing excellent customer service.
References
- Installation Manual of the Door Opener Control Box
- General knowledge of door opener installation and maintenance


